WALK 24 - THE RIVER KELVIN
This is a walk of startling contrasts. It starts deep in the hub of Glasgow's west end within the iconic Kelvingrove Park, and meanders alongside the river, underneath arches, overshadowed by embankments and planted vegetation. The route passes through the semi-industrial Maryhill and through the suburb of Summerston - where the gentle city stroll ends abruptly. What follows is a challenging scramble through long grass and saturated mud, following the twisting Kelvin, and turning nearly 180 degrees to follow the Allander into Milngavie. Hiking gear, a walking stick and waterproofs are essential.
Purists might insist on starting this walk where the Kelvin meets the Clyde. There isn't much to see downstream from the grand bridge where Argyle Street becomes Dumbarton Road. Secondly, the source of the Kelvin is beyond Kilsyth, and there is no distinguishable path following the Kelvin upstream from its confluence with the Allander Water near Milgavie. This walk follows the Kelvin for about 6 miles, and does not depart drastically from the vicinity of the Clyde.Since this is an architecturally complicated route, there are several accompanying maps. It is easy to become lost, particularly if you have not walked along the Kelvin before.
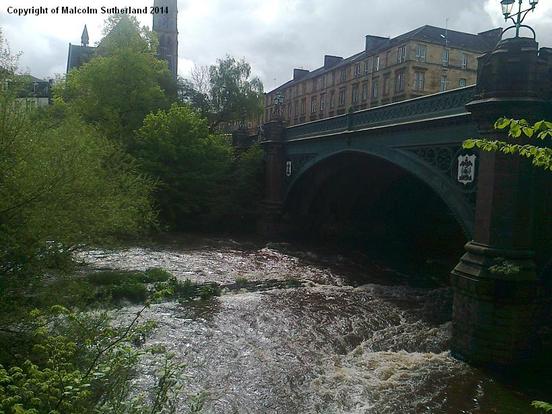
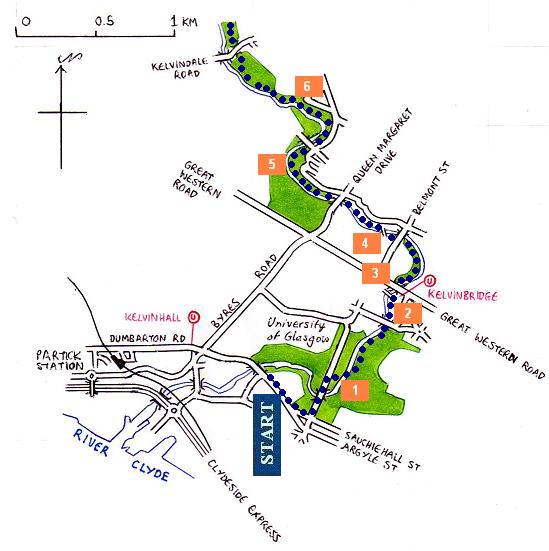
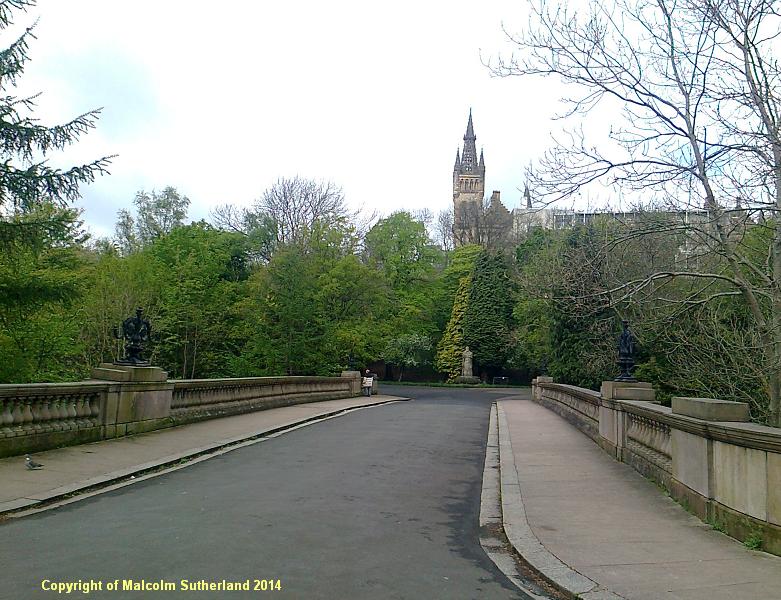
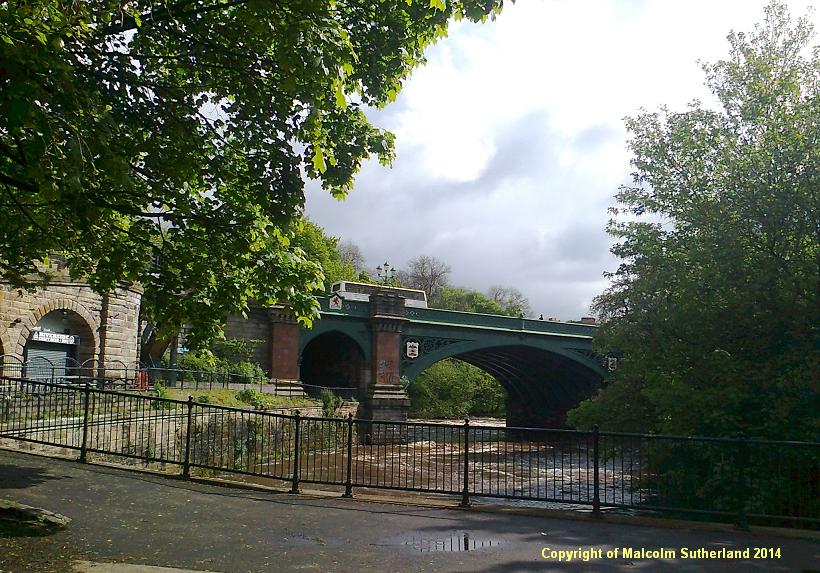
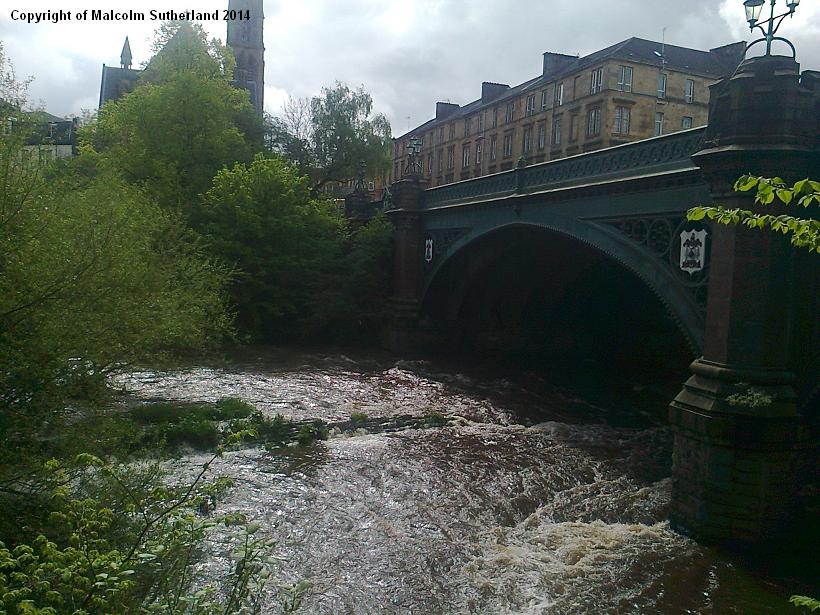
Walkers should commence the journey in Kelvingrove Park, which boasts the finest views of The University of Glasgow (photo 1). This idyllic scholarly citadel is - like almost every other tenement and ornate building in the district - a Victorian creation. In fact, the university was located in the east end of Glasgow City Centre for several centuries, but the old college building was erased amidst the dizzying industrial activity in the late 19th Century city. Follow the path closest to the river, pass under the Gibson Street bridge, carry on past the car parking lot, and cross over the bridge shortly before passing under the Great Western Road bridge (or Kelvinbridge) (photos 2, 3).
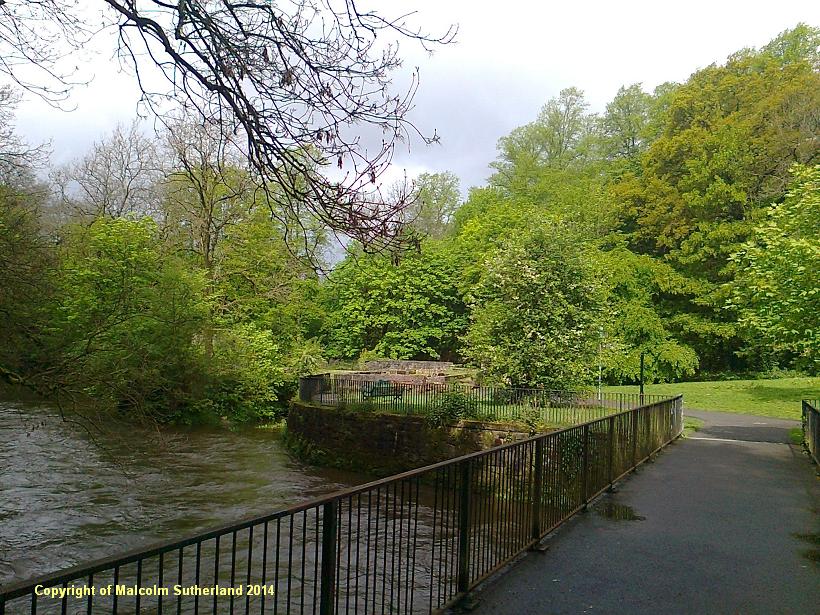
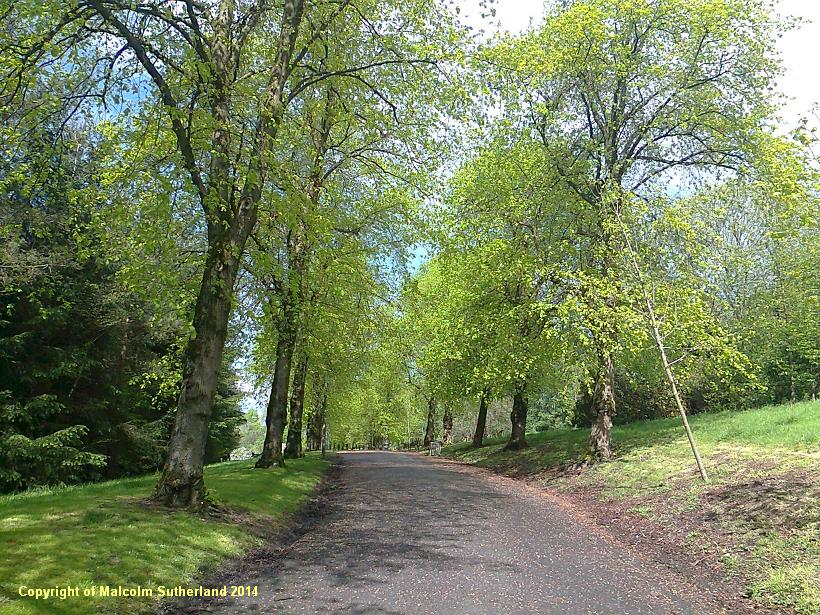
The woodland begins once you pass under the Kelvin bridge, and the path becomes narrow and a little precarious. The path turns left and passes under a very high bridge near a church, before crossing over the Kelvin back onto the right hand side (photo 4). The path passes a few remnants of a flint mill, and follows the river under the massive Queen Margaret Drive bridge. There is a narrow sliver of a park beyond this towering structure, where the path forks, and turns right (photo 5). After a few hundred yards of more woodland and another archway, the path ascends the gorge, and loops clockwise around two respectable-looking tower blocks (photo 6).
Walkers should commence the journey in Kelvingrove Park, which boasts the finest views of The University of Glasgow (photo 1). This idyllic scholarly citadel is - like almost every other tenement and ornate building in the district - a Victorian creation. In fact, the university was located in the east end of Glasgow City Centre for several centuries, but the old college building was erased amidst the dizzying industrial activity in the late 19th Century city. Follow the path closest to the river, pass under the Gibson Street bridge, carry on past the car parking lot, and cross over the bridge shortly before passing under the Great Western Road bridge (or Kelvinbridge) (photos 2, 3).
The woodland begins once you pass under the Kelvin bridge, and the path becomes narrow and a little precarious. The path turns left and passes under a very high bridge near a church, before crossing over the Kelvin back onto the right hand side (photo 4). The path passes a few remnants of a flint mill, and follows the river under the massive Queen Margaret Drive bridge. There is a narrow sliver of a park beyond this towering structure, where the path forks, and turns right (photo 5). After a few hundred yards of more woodland and another archway, the path ascends the gorge, and loops clockwise around two respectable-looking tower blocks (photo 6).
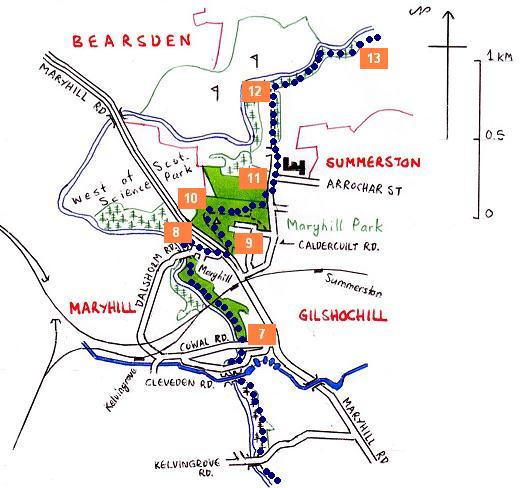
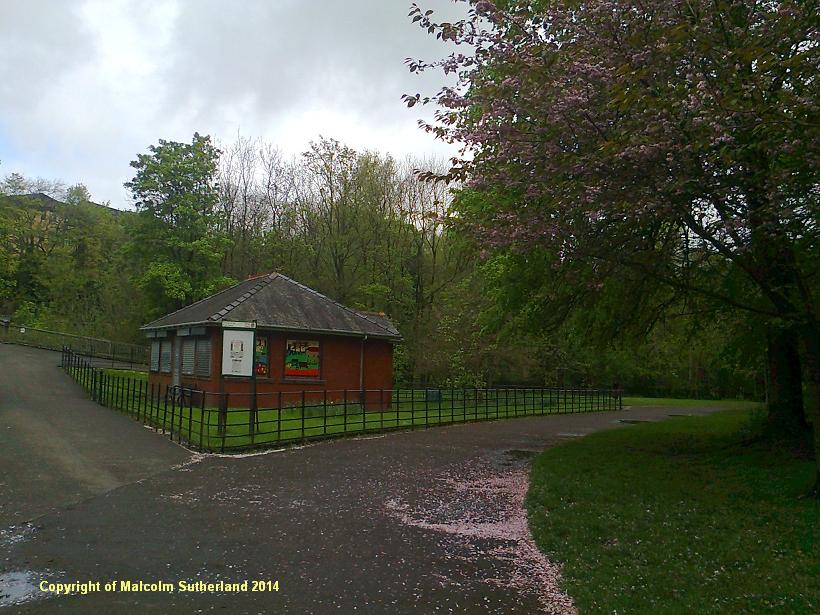
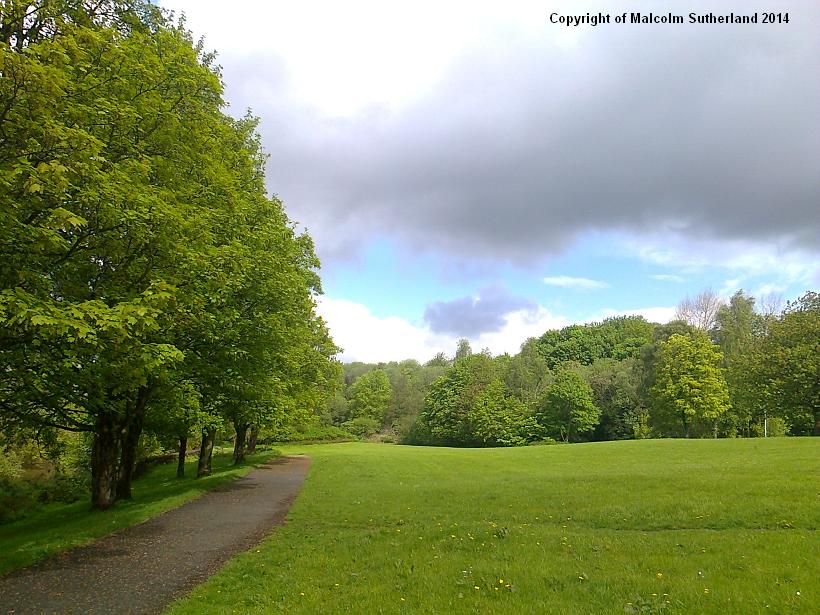
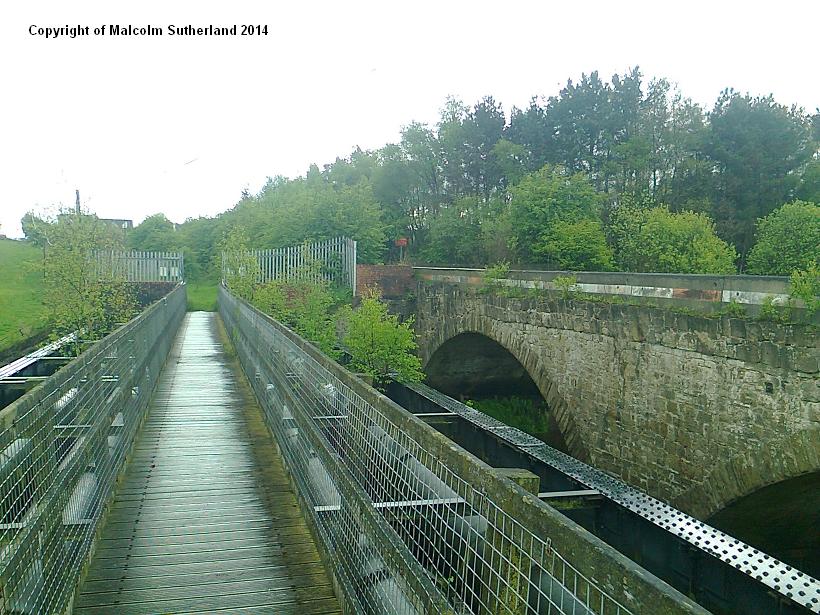
The walk begins to feel more suburban as you pass the playing fields and through intermittent woodland, and under a quiet bridge (Kelvindale Road) into a fairly large park with few contours (photo 7). The river gorge closes in again as you approach the towering double-bridge, one part of which accommodates the Forth Clyde canal (refer to Walk 22). By this stage you may sight dirt tracks and side paths dashing closer to the river or away towards the estates, but ignore these side shoots until after you have walked under the (real) railway bridge near Maryhill station. The river bends and twists to the right, and you pass under Dalsholm Road bridge - shortly after which you are directed onto that road towards Maryhill Road (a dual carriageway) (photo 8). For some reason, you cannot walk the Kelvin alongside the West of Scotland Science Park, so instead, you must take the detour through Maryhill Park (photo 9).
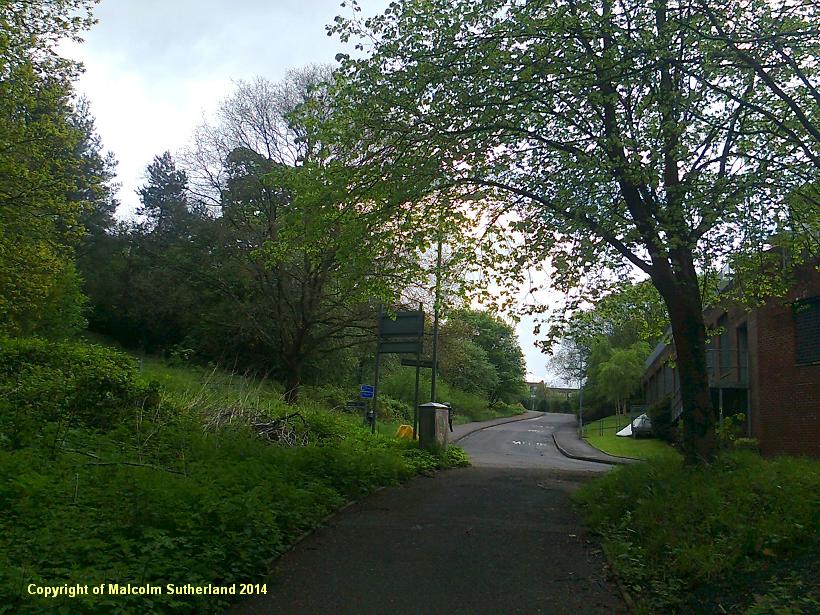
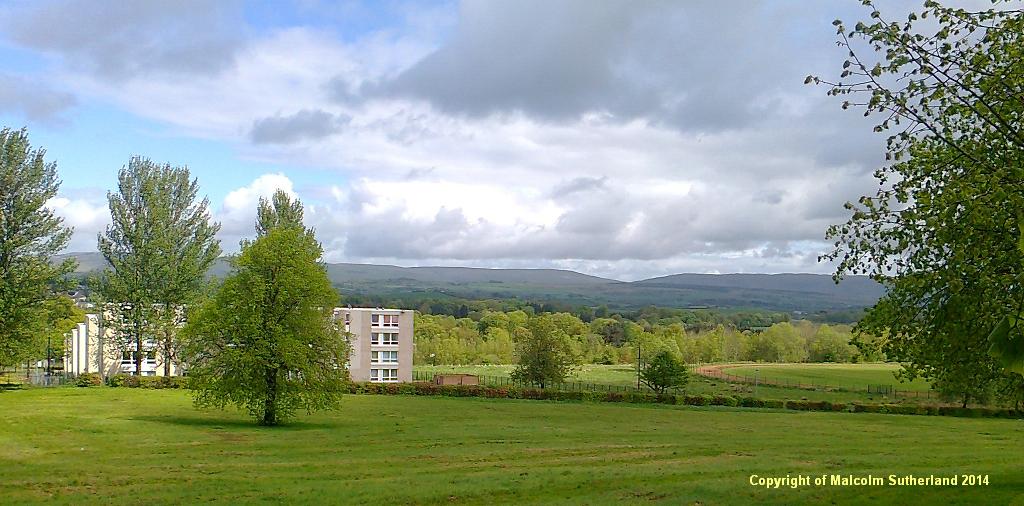
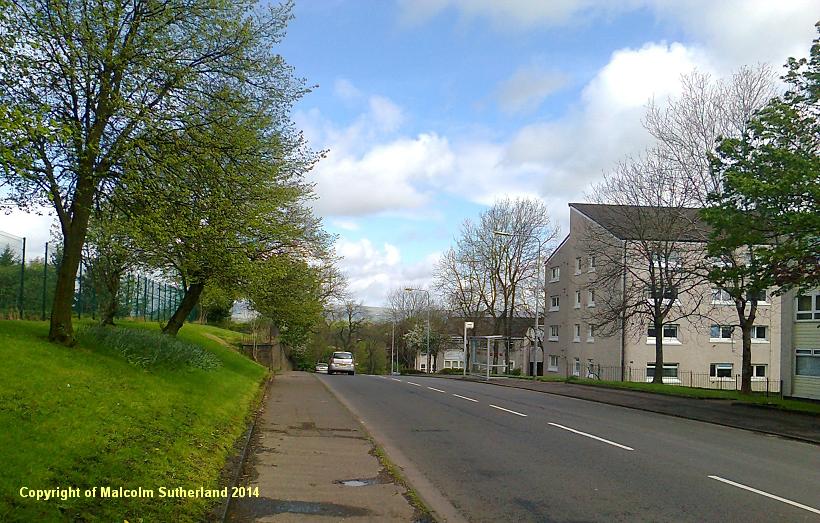
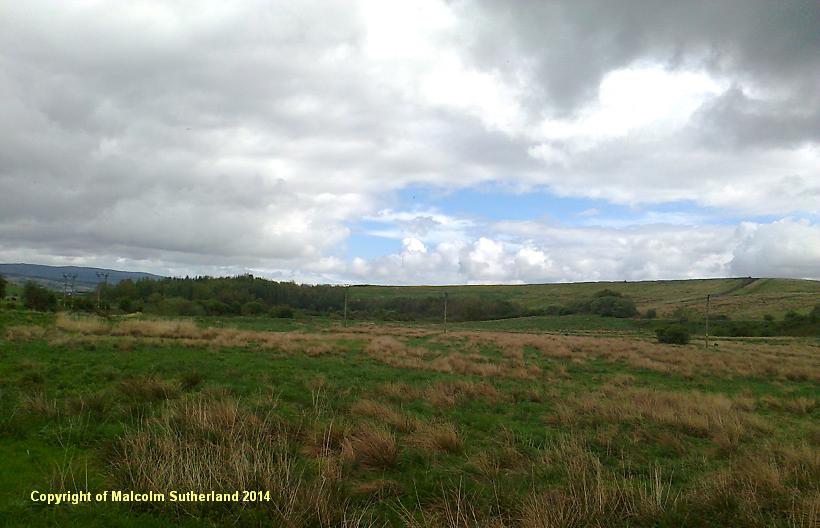
Cross over the dual carriageway and walk up the moderately steep path into the park. This is on a hill marked by a trig point at its summit(!) When you pass the summit - when it isn't raining - you should glimpse your first view of the Campsie Fells (photo 10). This path twists to the right and passes down a gentle downhill slope towards Caldercuilt Road. Walkers are advised to take a short detour path to the left, which turns 90 degrees and reaches the road. Turn left and follow Caldercuilt Road (photo 11) past the John Paul Academy, past the horseriding centre, and straight ahead towards a metal gate, which leads to a heavily ridden dirt track...and the second, very different, stage of this walk.
Cross over the dual carriageway and walk up the moderately steep path into the park. This is on a hill marked by a trig point at its summit(!) When you pass the summit - when it isn't raining - you should glimpse your first view of the Campsie Fells (photo 10). This path twists to the right and passes down a gentle downhill slope towards Caldercuilt Road. Walkers are advised to take a short detour path to the left, which turns 90 degrees and reaches the road. Turn left and follow Caldercuilt Road (photo 11) past the John Paul Academy, past the horseriding centre, and straight ahead towards a metal gate, which leads to a heavily ridden dirt track...and the second, very different, stage of this walk.
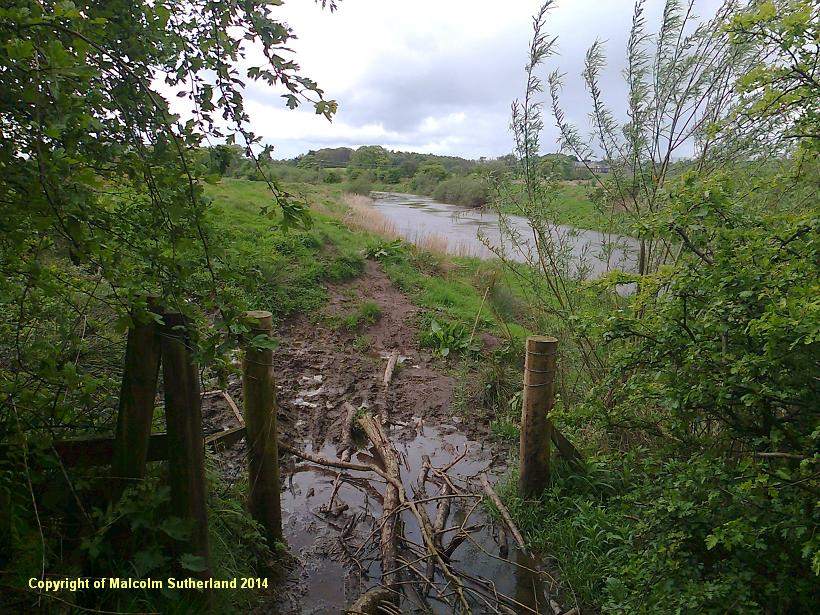
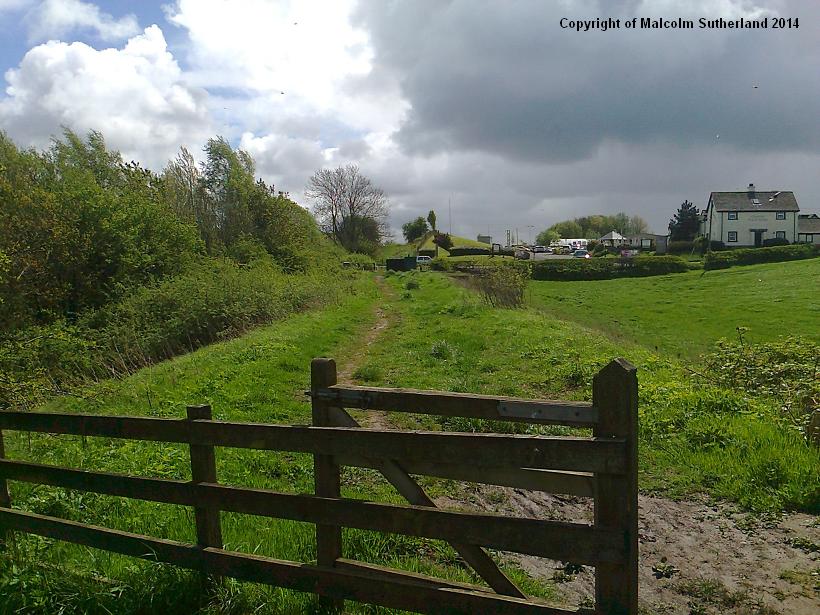
Limp your way carefully along the horseriding track to the Kelvin, where the trail narrows, and where some rudimentary wooden steps have been installed in places (photo 12). The last buildings of the Glasgow conurbation soon give way to open countryside as you stagger along the bumpy path. The path improves slightly as the river bends to the north, where the trees give way to a clear view towards a former landfill (photo 13). A few hundred yards further along, the woodland resumes and the path degenerates into swamp in places (photo 14). Even the cyclists dare not negotiate this terrain. The path continues its soggy itinary as the river bends sharply to the left and back round towards the Balmore Road bridge. You shall have to cross this busy road, before crossing over the wooden pedetrian bridge (photo 15).
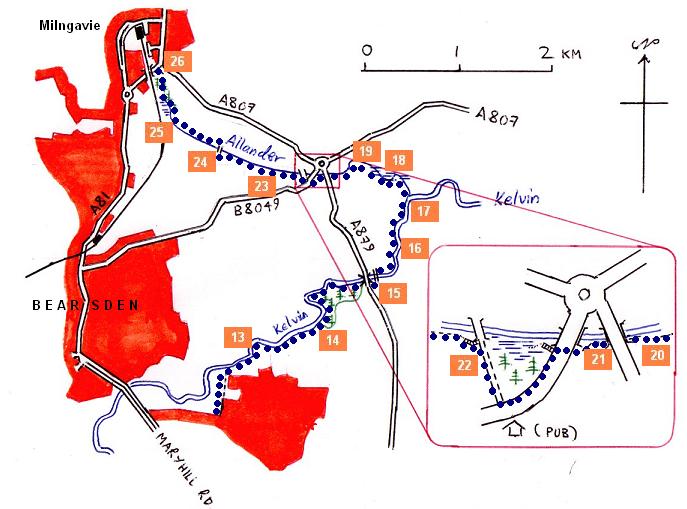
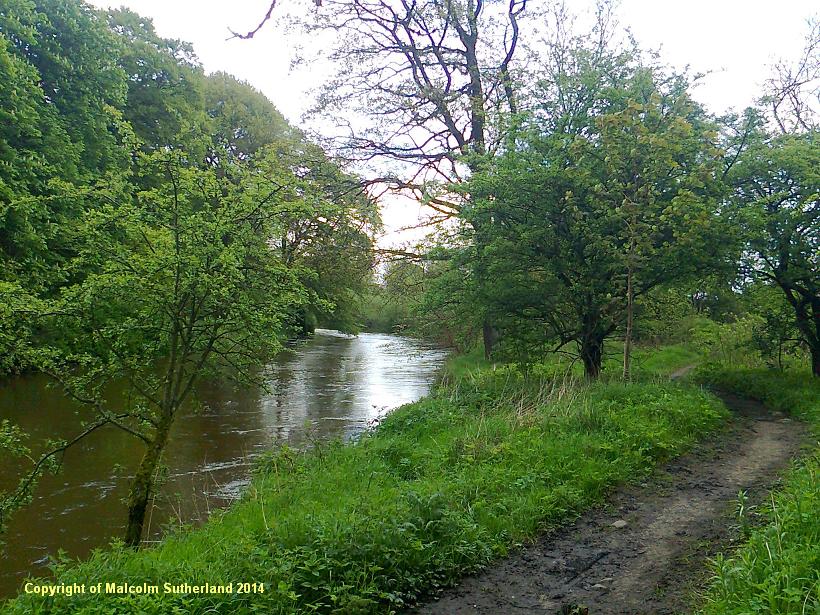
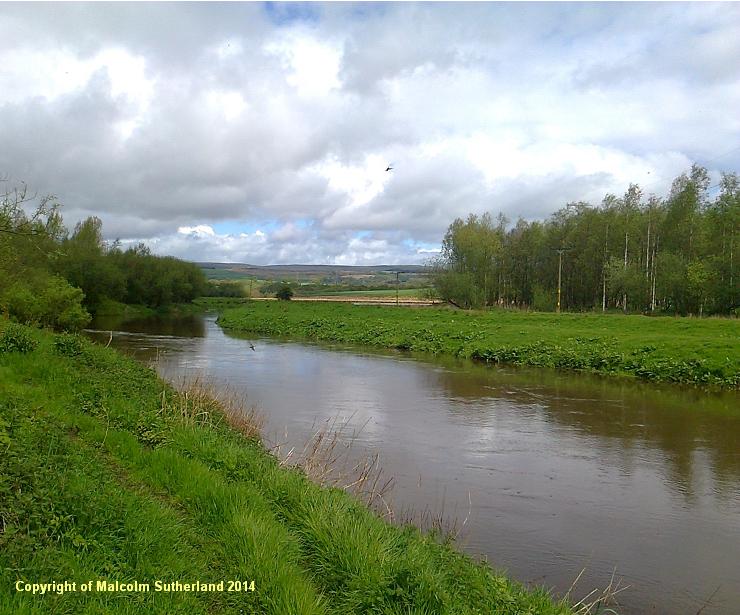
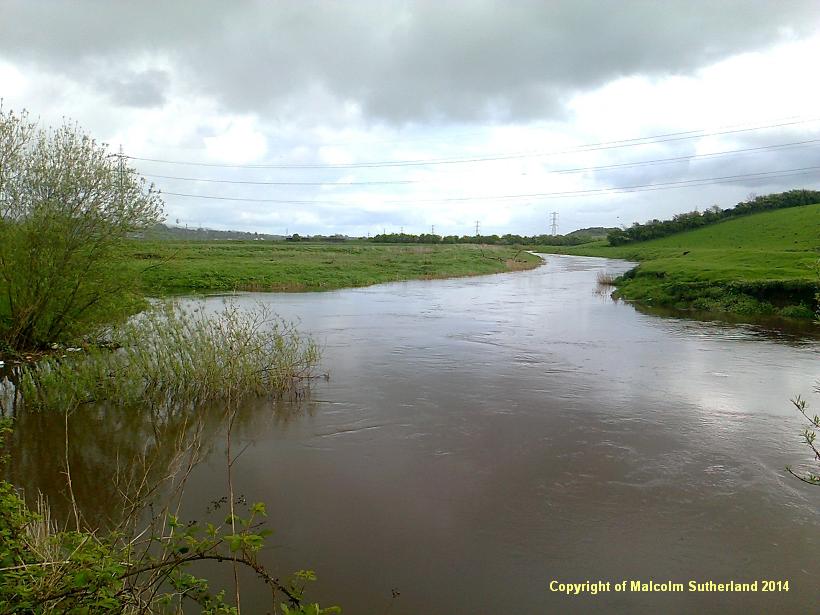
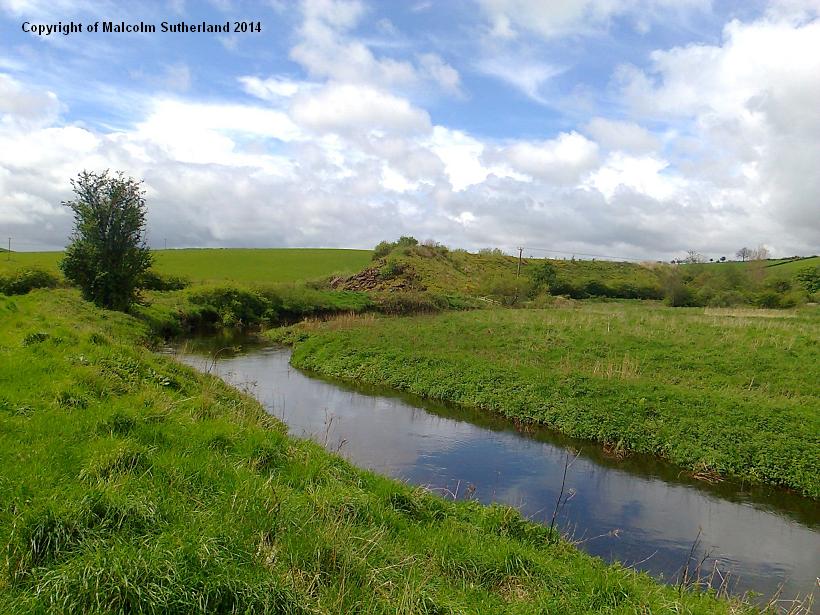
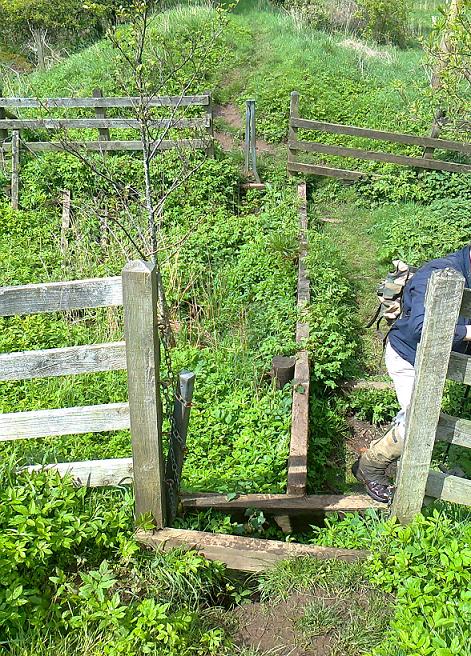
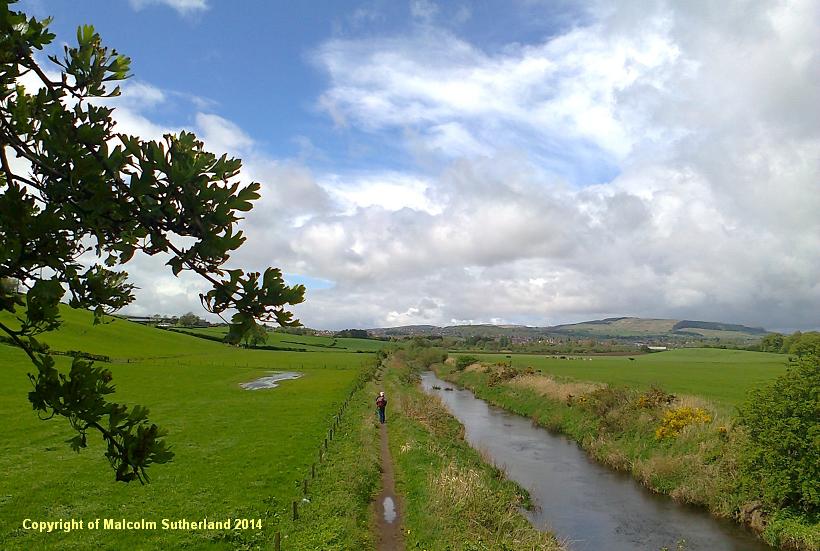
The next mile is perhaps the most challenging section. A makeshift anglers' dirt track scrawls alongside the Kelvin, and the embankment is steep and unstable. A walking stick (maybe two) is essential. The Kelvin flows slowly and gracefully (photo 16), and the confluence with the Allander Burn in very flat terrain feels almost like an estuary (photo 17). The path crawls over the remnants of an old railway bridge, then takes a distinct west direction and follows past the marshy Allander Burn (photo 18). Walkers are warned that there is a very steep and wobbly wooden style along this stretch (photo 19).
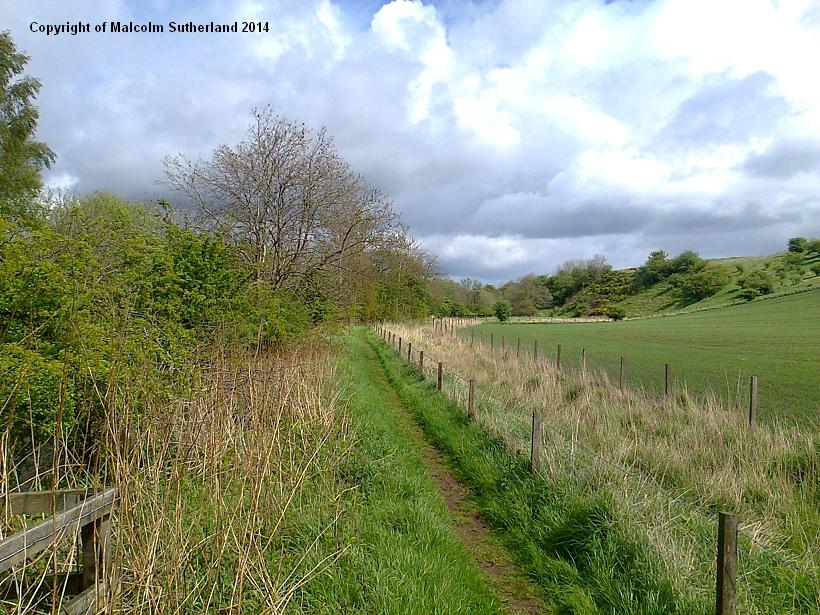
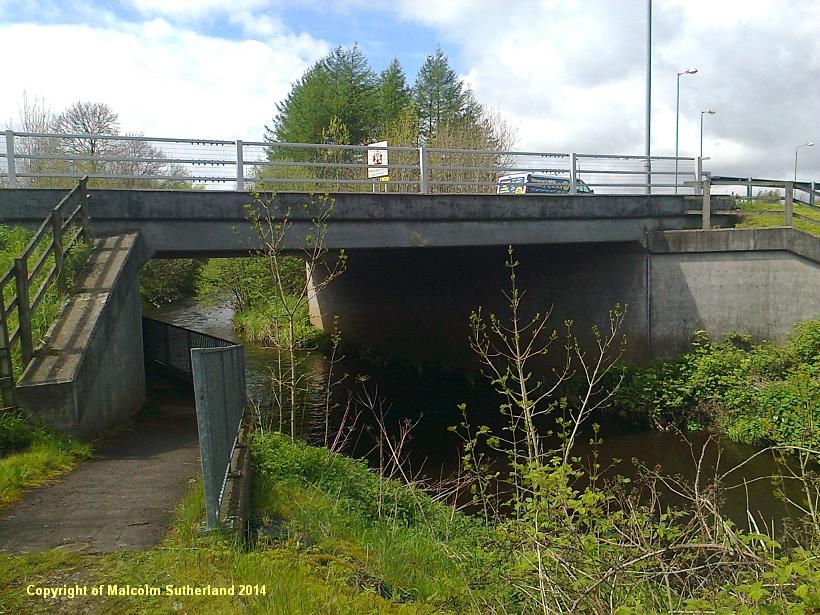
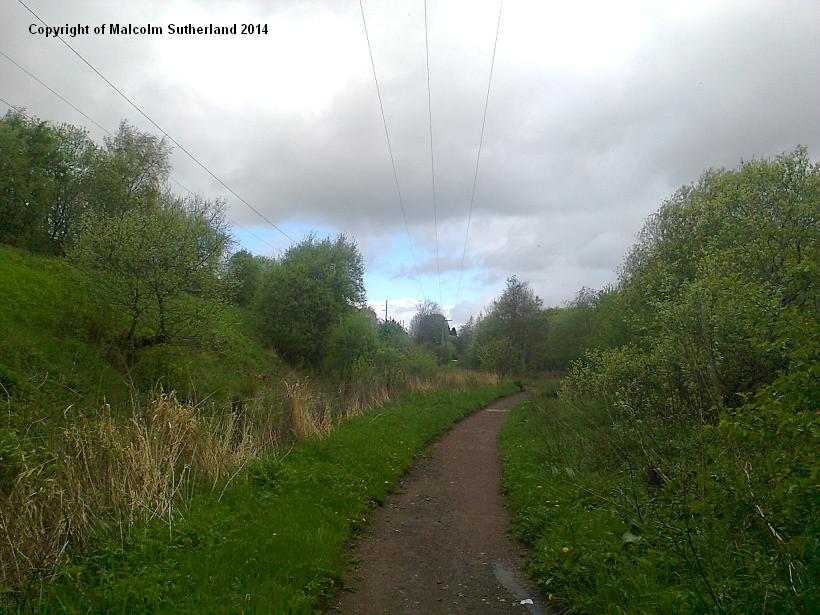
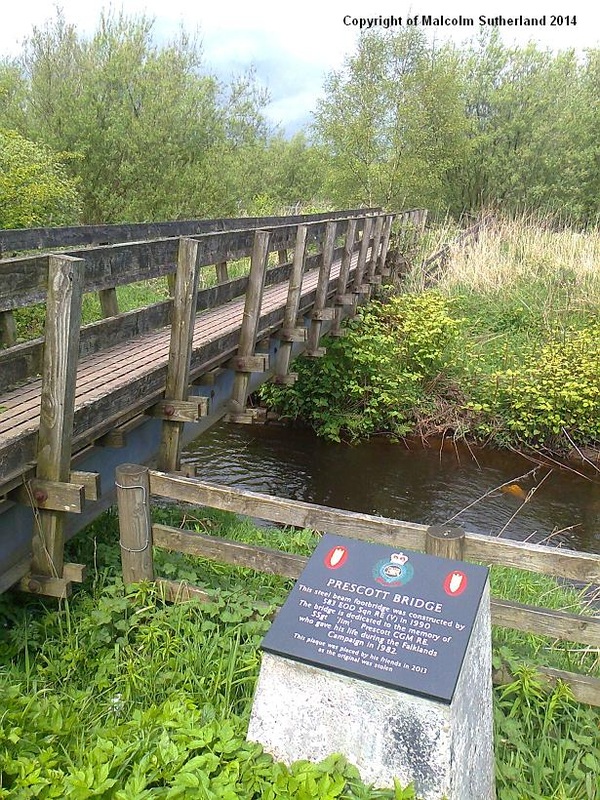
The path becomes muddier again as it twists to the left and proceeds in a straight line (photo 20) to the two bridges. The first bridge (which is the Balmore Road again) has an underpass (photo 21), but the walker must cross over the next road (Boclair Road). Do NOT follow the path down into the little woodland (where the path degenerates into a marsh) - instead, turn left and walk along the Boclair Road, where you will find a path that leads back to the river (photo 22). At long last the mud chute ends, and the path becomes a flat and stately one with stone chips (photo 23). About half a mile along, the path crosses over the functional Prescott Bridge, built in dedication to the memory of a local army sergeant who perished in the Falklands War (photo 24). The remaining mile is accompanied by playing fields to the right, and the railway to Milngavie along the last couple of hundred yards (photo 25). The end of this walk is fairly anticlimatic as it ends abruptly at the main road to Bearsden (photo 26).
The next mile is perhaps the most challenging section. A makeshift anglers' dirt track scrawls alongside the Kelvin, and the embankment is steep and unstable. A walking stick (maybe two) is essential. The Kelvin flows slowly and gracefully (photo 16), and the confluence with the Allander Burn in very flat terrain feels almost like an estuary (photo 17). The path crawls over the remnants of an old railway bridge, then takes a distinct west direction and follows past the marshy Allander Burn (photo 18). Walkers are warned that there is a very steep and wobbly wooden style along this stretch (photo 19).
The path becomes muddier again as it twists to the left and proceeds in a straight line (photo 20) to the two bridges. The first bridge (which is the Balmore Road again) has an underpass (photo 21), but the walker must cross over the next road (Boclair Road). Do NOT follow the path down into the little woodland (where the path degenerates into a marsh) - instead, turn left and walk along the Boclair Road, where you will find a path that leads back to the river (photo 22). At long last the mud chute ends, and the path becomes a flat and stately one with stone chips (photo 23). About half a mile along, the path crosses over the functional Prescott Bridge, built in dedication to the memory of a local army sergeant who perished in the Falklands War (photo 24). The remaining mile is accompanied by playing fields to the right, and the railway to Milngavie along the last couple of hundred yards (photo 25). The end of this walk is fairly anticlimatic as it ends abruptly at the main road to Bearsden (photo 26).


All text, maps and imagery are copyright of Dr Malcolm Sutherland (2013 - 14).
DISCLAIMER: visitors to this website must take all necessary precautions when travelling to the sites listed in this website and when walking. People viewing this website are entirely responsible for their own transportation, health and safety if they travel to relevant locations and attempt any of the walks listed on this website.
DISCLAIMER: visitors to this website must take all necessary precautions when travelling to the sites listed in this website and when walking. People viewing this website are entirely responsible for their own transportation, health and safety if they travel to relevant locations and attempt any of the walks listed on this website.
