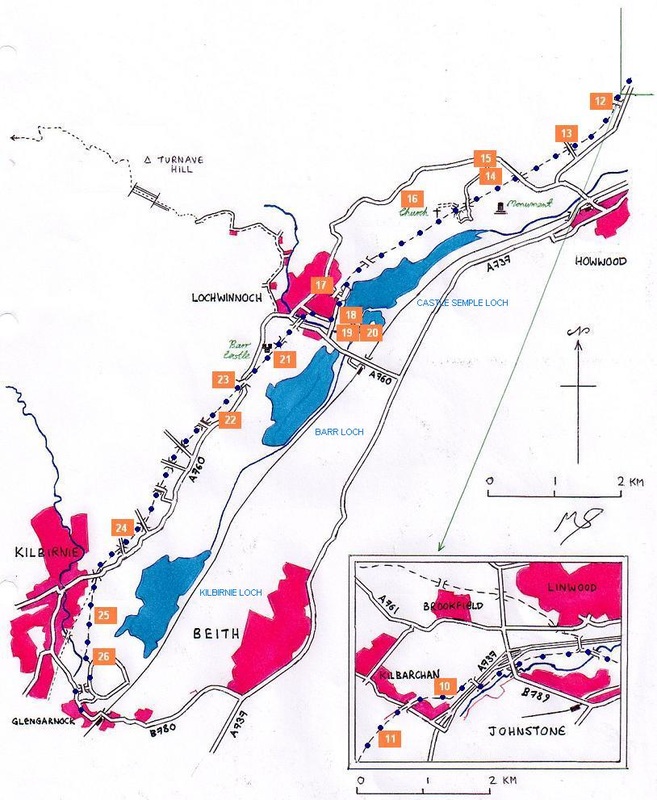
walk 16 - paisley to kilbirnie
This is not really a Firth of Clyde walk. However, the first few miles of this former railway line is the same route for the Paisley to Port Glasgow walk, so naturally, the walker may be drawn to complete this route, also courtesy of SUSTRANS and other organisations, which converted this old disused railway line into a decent tarmac path. There are also some historical buildings and ruins along the way. One particular advantage with this walk is that it follows the existing Paisley to Ayr railway, so if the weather turns foul, the walker can scoot into one of the towns and hop on a train or bus.
SECTION 1 - PAISLEY CANAL STREET TO THE A737 BRIDGE
This section is also Section 1 of Walk number 15 (Paisley to Port Glasgow). For further details click here.
SECTION 2 - THE A737 BRIDGE TO KILBIRNIE
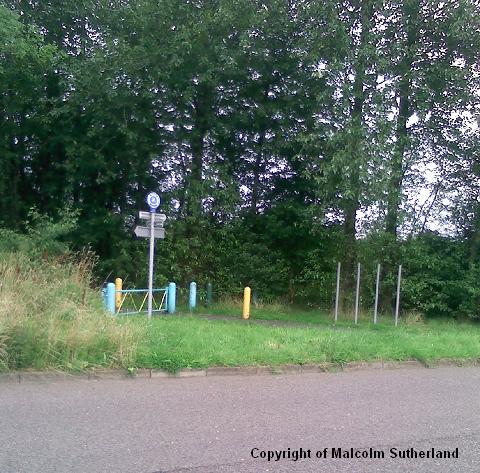
This covers around three quarters of the distance of the walk, most of which is through open countryside or through deep cuttings and under numerous bridges. However, as mentioned, there are offshoots leading into Linwood and Lochwinnoch. If the walker is desperate, he/she can even walk into Johnstone, just before the path crosses over the A737 dual carriageway.
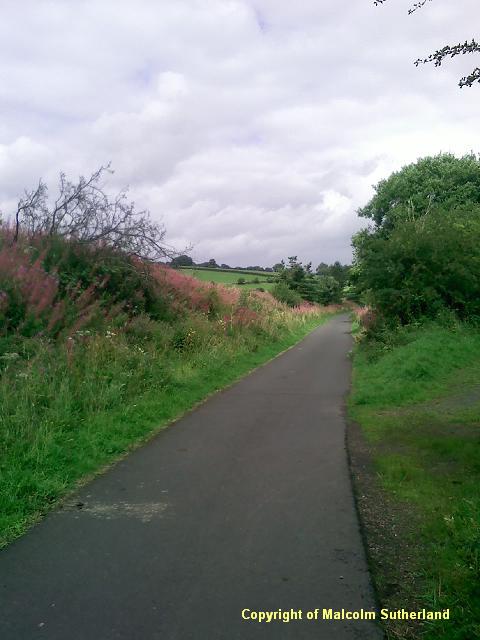
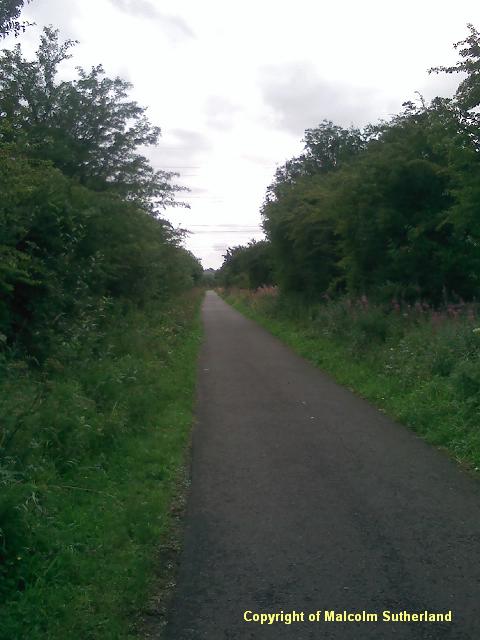
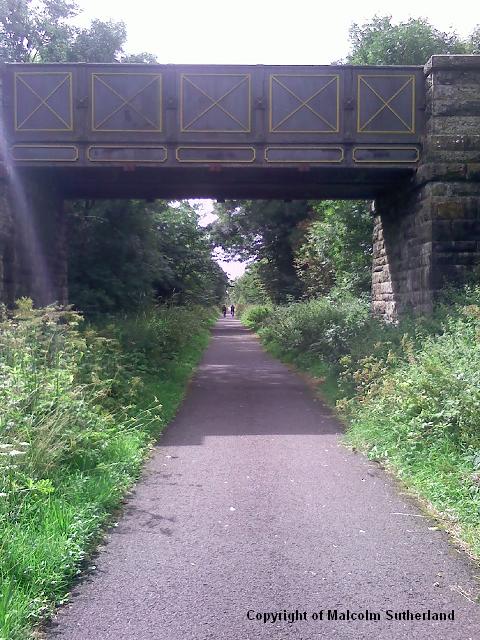
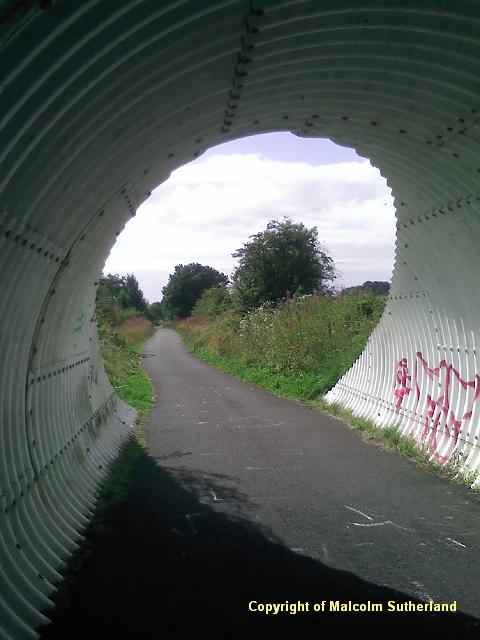
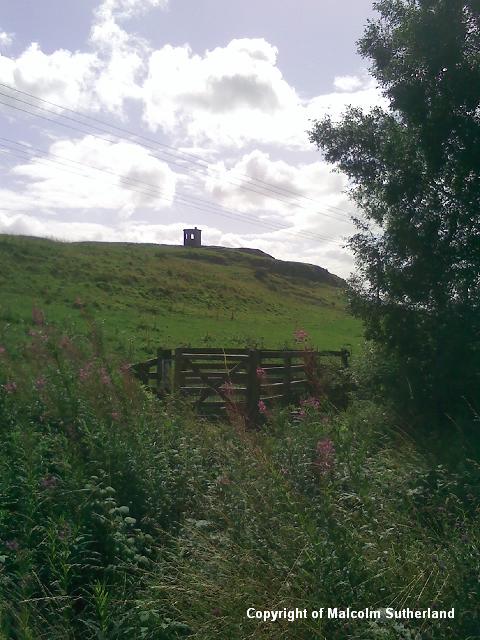
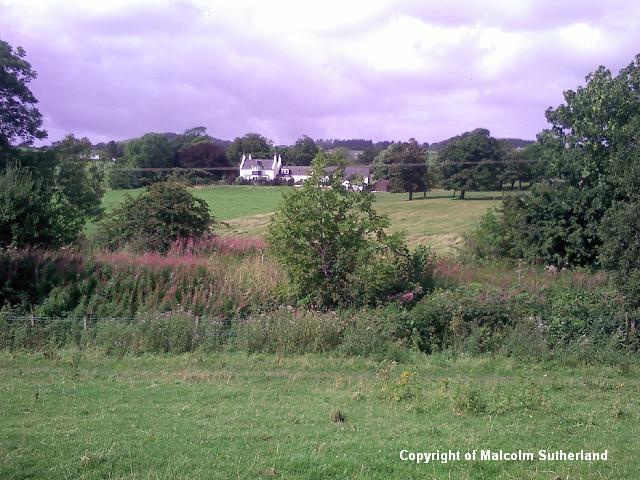
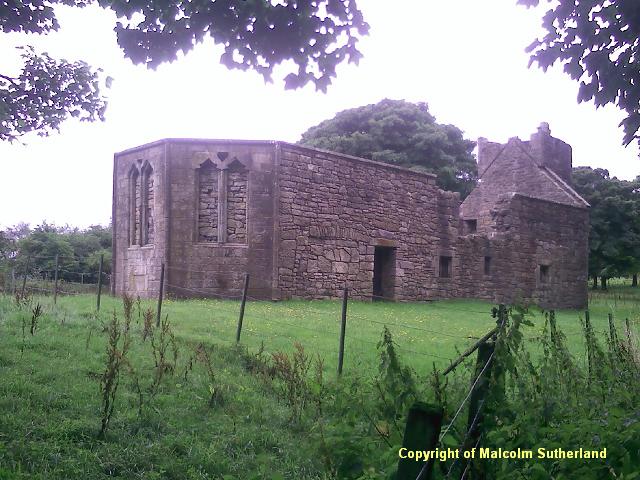
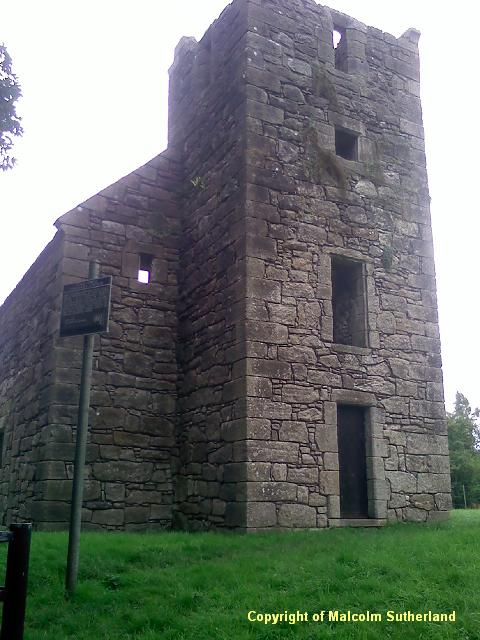
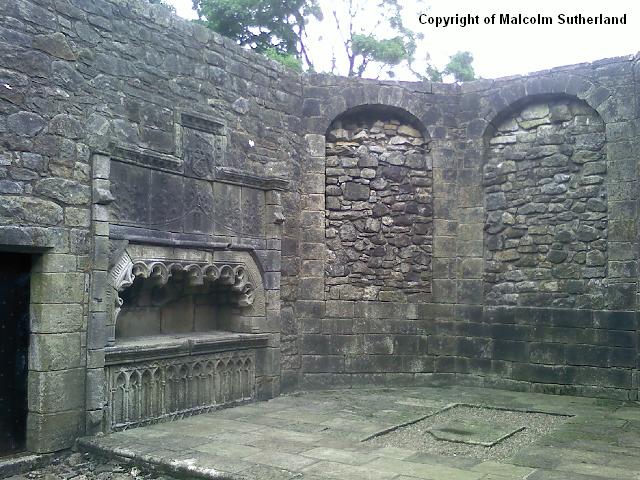
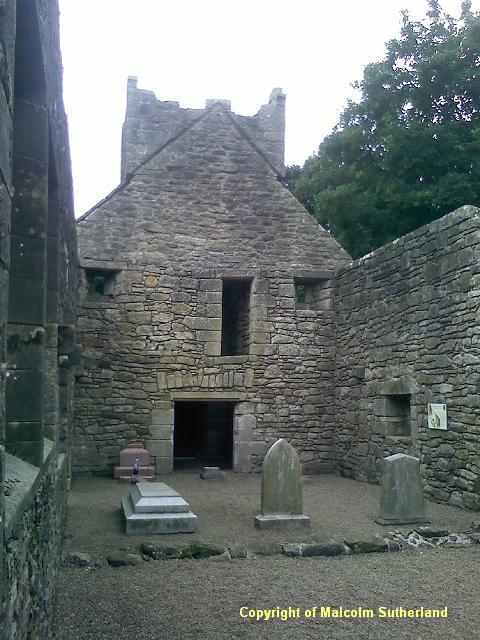
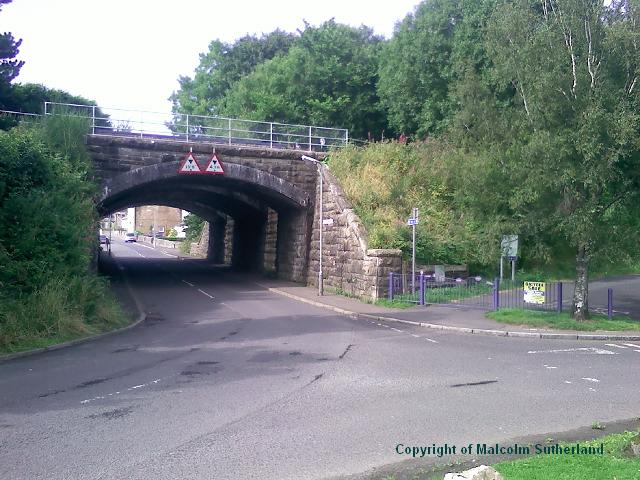
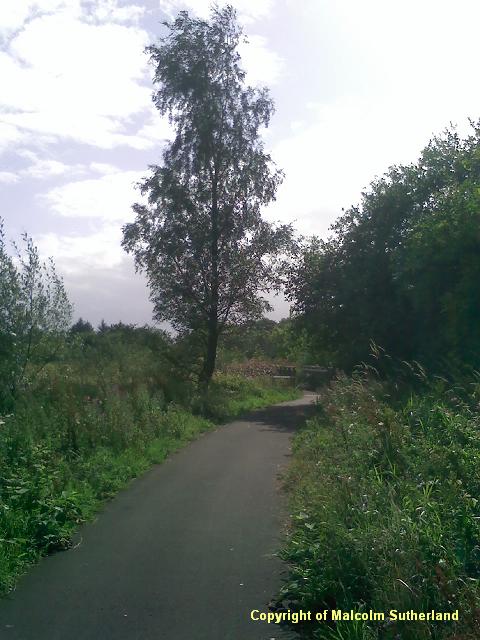
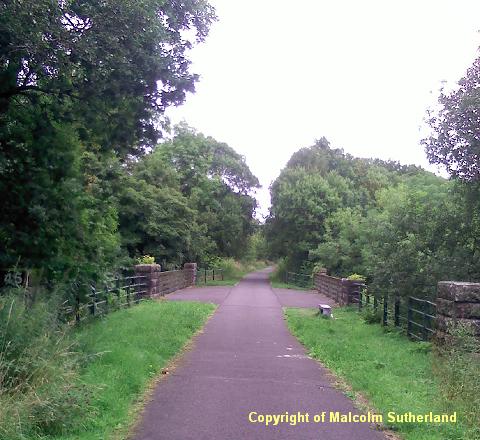
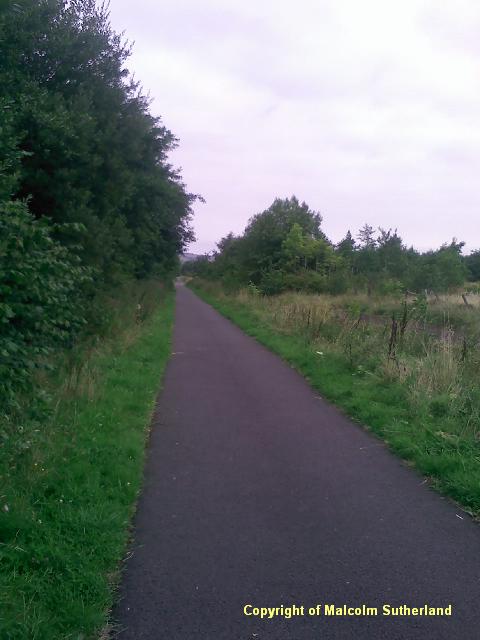
The first few miles past the bridge over the dual carriageway are through open countryside (Photo 10), and are rather featureless. The path is very straight in places (Photo 11), and passes under some bridges (Photo 12) and through a tube concrete tunnel (Photo 13). Once you pass Howwood, the first landmark soon appears: a folly on top of a hill overlooking the A737 (Photo 14). You can pass through a gate and onto this hill, from where you can sight a picturesque farmhouse (Photo 15). Another half-mile along is a ruined chapel on the right (west side). This is the 15th century Semple Church (Photos 16A to 16D), which was used as a burial ground until the late 19th century (Photo 16D). A knight who fought and died in the Battle of Flodden was buried beside the altar (Photo 16C).
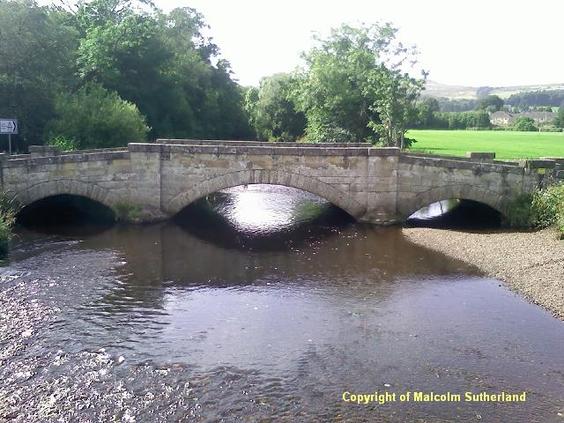
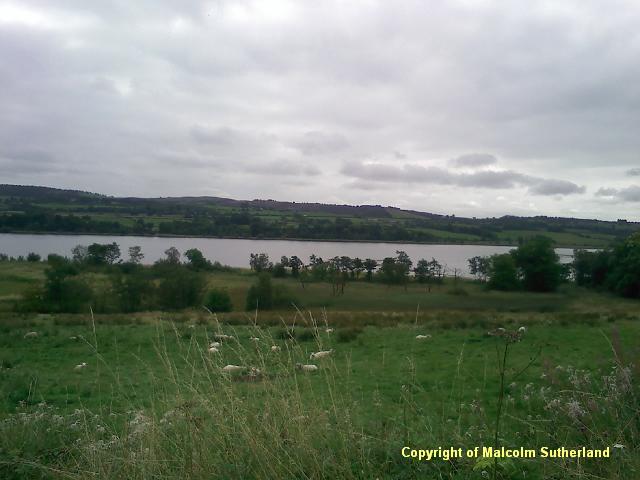
The path overlooks Castle Semple Loch as it approaches Lochwinnoch. The path then descends from the old railway embankment onto the loch shore (Photo 17). Walk along the wooden platform crossing the marsh (Photo 18) until you find the crossing over the road into a nearby park (Photo 19). This leads back to the railway embankment. Nearby is an old bridge over the River Calder (Photo 20).
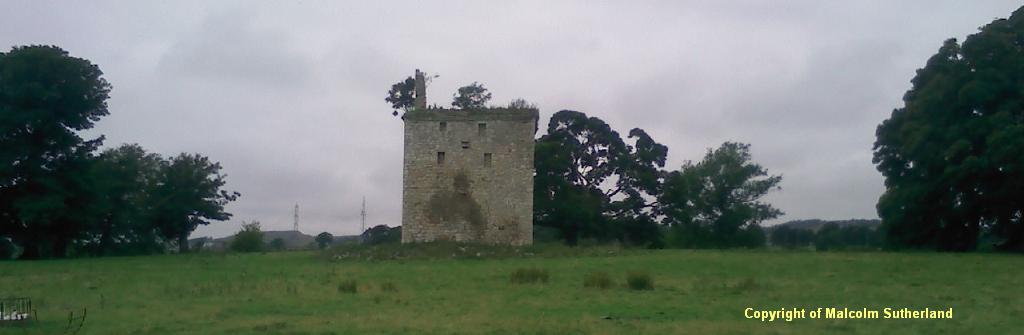
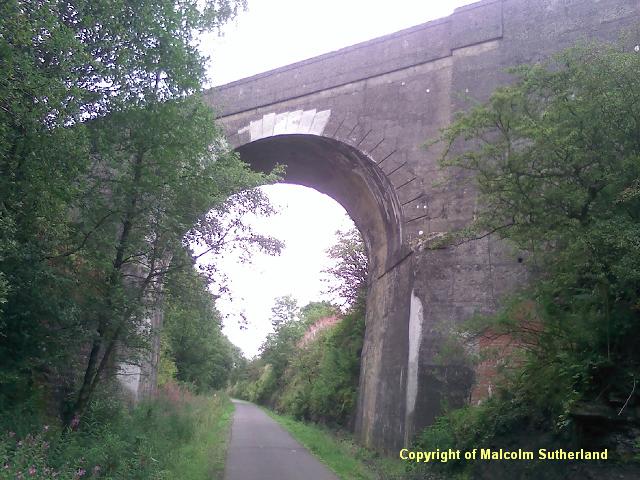
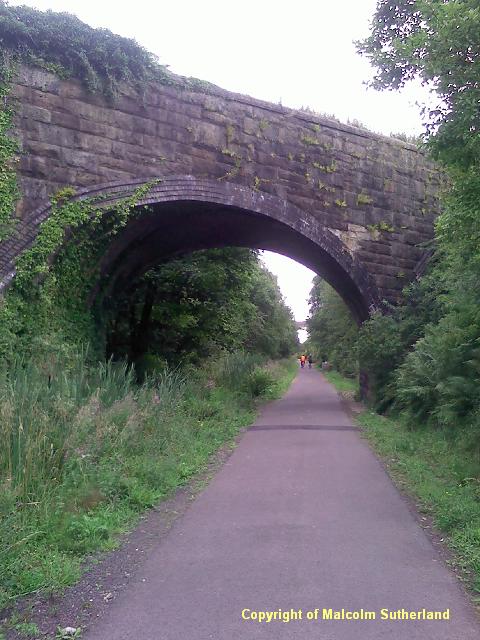
Once back on the railway embankment, follow the path which crosses a bridge over the A760, and towards Barr Castle (Photo 21). Sadly, this old castle is not easy to access, and the field may be occupied by bulls. Best to keep on walking. The path overlooks the Barr Loch. However, the embankment (Photo 23) soon gives way to a long, deep cutting which runs almost into Kilbirnie, underneath some dramatic, very high bridges (Photo 24A) cutting across at sharp angles (Photo 24B). On approaching Kilbirnie, the cutting disappears and the path crosses some marshy land beside Kilbirnie Lock (Photo 25). The path emerges into the side of an industrial estate (Photo 26), onto a circular road. Turn right and walk around until you see a road on the right passing under a bridge. Walk under the bridge, and arrive at the main Glengarnock-Kilbirnie road.
This section is also Section 1 of Walk number 15 (Paisley to Port Glasgow). For further details click here.
SECTION 2 - THE A737 BRIDGE TO KILBIRNIE
This covers around three quarters of the distance of the walk, most of which is through open countryside or through deep cuttings and under numerous bridges. However, as mentioned, there are offshoots leading into Linwood and Lochwinnoch. If the walker is desperate, he/she can even walk into Johnstone, just before the path crosses over the A737 dual carriageway.
The first few miles past the bridge over the dual carriageway are through open countryside (Photo 10), and are rather featureless. The path is very straight in places (Photo 11), and passes under some bridges (Photo 12) and through a tube concrete tunnel (Photo 13). Once you pass Howwood, the first landmark soon appears: a folly on top of a hill overlooking the A737 (Photo 14). You can pass through a gate and onto this hill, from where you can sight a picturesque farmhouse (Photo 15). Another half-mile along is a ruined chapel on the right (west side). This is the 15th century Semple Church (Photos 16A to 16D), which was used as a burial ground until the late 19th century (Photo 16D). A knight who fought and died in the Battle of Flodden was buried beside the altar (Photo 16C).
The path overlooks Castle Semple Loch as it approaches Lochwinnoch. The path then descends from the old railway embankment onto the loch shore (Photo 17). Walk along the wooden platform crossing the marsh (Photo 18) until you find the crossing over the road into a nearby park (Photo 19). This leads back to the railway embankment. Nearby is an old bridge over the River Calder (Photo 20).
Once back on the railway embankment, follow the path which crosses a bridge over the A760, and towards Barr Castle (Photo 21). Sadly, this old castle is not easy to access, and the field may be occupied by bulls. Best to keep on walking. The path overlooks the Barr Loch. However, the embankment (Photo 23) soon gives way to a long, deep cutting which runs almost into Kilbirnie, underneath some dramatic, very high bridges (Photo 24A) cutting across at sharp angles (Photo 24B). On approaching Kilbirnie, the cutting disappears and the path crosses some marshy land beside Kilbirnie Lock (Photo 25). The path emerges into the side of an industrial estate (Photo 26), onto a circular road. Turn right and walk around until you see a road on the right passing under a bridge. Walk under the bridge, and arrive at the main Glengarnock-Kilbirnie road.

All text, maps and imagery are copyright of Dr Malcolm Sutherland (2013 - 14).
DISCLAIMER: visitors to this website must take all necessary precautions when travelling to the sites listed in this website and when walking. People viewing this website are entirely responsible for their own transportation, health and safety if they travel to relevant locations and attempt any of the walks listed on this website.
DISCLAIMER: visitors to this website must take all necessary precautions when travelling to the sites listed in this website and when walking. People viewing this website are entirely responsible for their own transportation, health and safety if they travel to relevant locations and attempt any of the walks listed on this website.
